Robot Vacuum Won't Charge: How to Fix It
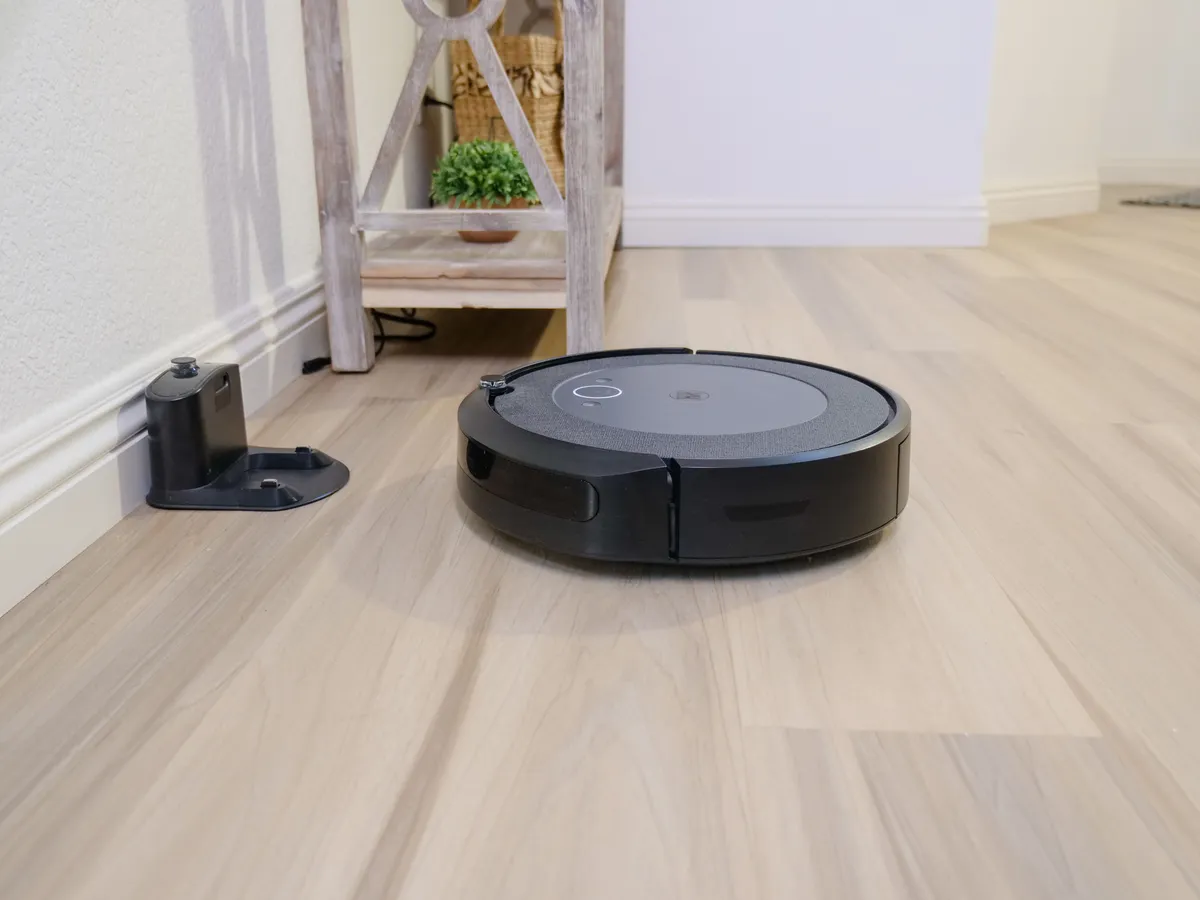
A robot vacuum that won't charge is usually down to one of four things: dirty or misaligned charging contacts, a dock that's positioned or powered wrongly, a stuck or confused robot that can't find its way home, or a battery that's simply worn out. Most cases are fixed by cleaning the contacts and checking the dock's position and power; a battery that no longer holds charge after a couple of years is a hardware limit that cleaning won't solve.
Data last updated:
If your robot vacuum won't charge, the cause is almost always one of four things: dirty charging contacts, a dock that's positioned or powered incorrectly, a robot that can't physically find or align with its dock, or a battery that's reached the end of its useful life. The first three are usually fixable in a few minutes with no tools beyond a cloth. The fourth — battery wear — is a hardware limit that no amount of cleaning will reverse. This guide works through each cause in the order most likely to solve the problem fastest, whatever brand of robot vacuum you own.
Exact menus, light colours and error codes differ between manufacturers (iRobot, Roborock, Ecovacs, Shark, Eufy and others all use their own systems), so where a step depends on brand-specific detail, check your model's manual or companion app alongside this guide.
The most common reasons a robot vacuum won't charge
- Dirty or corroded charging contacts — the metal pins on the robot's underside and the dock build up a film of dust that blocks the electrical connection, even though it's invisible at a glance.
- Dock positioned or set up incorrectly — too close to a wall, on carpet instead of a hard floor, or without enough clear space in front, so the robot can't line up with it.
- No power reaching the dock — a dead outlet, a loose cable, or a wall switch left off will stop charging even if the robot itself is fine.
- The robot is stuck or lost — it's tangled, wedged under furniture, or its sensors can't relocate the dock, so it never actually gets there to charge.
- A worn-out battery — lithium-ion batteries lose capacity over roughly 1–3 years of regular use; eventually they stop holding a useful charge regardless of how clean the contacts are.
Work through the steps below roughly in order, since the quickest and most common fixes come first.
Step 1: Clean the charging contacts
Dirty charging contacts are the single most frequent cause of a robot vacuum that won't charge. Every cleaning cycle stirs up fine dust, and over weeks of use a thin, often invisible layer settles on the metal contact strips on both the underside of the robot and the dock itself. That layer is enough to break the electrical connection even though the robot looks correctly seated.
- Unplug the dock before you start.
- Wipe both sets of metal contacts — on the robot and on the dock — with a dry, lint-free cloth. If they look tarnished or greasy, lightly dampen the cloth with isopropyl alcohol rather than water, and make sure both surfaces are completely dry before reconnecting power.
- For light oxidation, a soft pencil eraser gently rubbed over the contacts can help, followed by a dry wipe to remove any residue.
- Plug the dock back in, place the robot on it manually, and check whether the charging indicator lights up or you hear a docking confirmation tone.
If the robot charges normally after this, the job's done — it's worth adding contact cleaning to your regular maintenance routine (see the last section) so it doesn't recur.
Step 2: Check the dock's position and surroundings
Even clean contacts won't help if the robot can't approach the dock squarely. Most manufacturers recommend:
- At least 0.5 m of clear space on either side of the dock and roughly 1–1.5 m of clear space in front of it.
- A hard, flat floor under the dock rather than a rug or thick carpet, which can tilt it slightly and throw off the alignment.
- No direct sunlight or reflective surfaces facing the dock, which can occasionally interfere with the infrared or optical sensors some robots use to find it.
- The dock pushed flush against a wall (most are designed to sit against a wall, not freestanding in an open room), with the power cable tidied away rather than trailing across the approach path.
If the dock has recently been moved, bumped, or is sitting on a new rug, that's a common trigger for a robot vacuum that suddenly won't dock properly after previously charging fine.
Step 3: Confirm the dock itself is getting power
Before assuming the fault is with the robot, rule out the power supply:
- Plug a different device (a phone charger or lamp) into the same socket to confirm the outlet is live.
- Check the dock's own power indicator light, if it has one — no light usually means no power is reaching it.
- Inspect the cable and adapter for visible damage, and make sure the connector is pushed fully into the back of the dock, not just resting in the socket.
- If you're using an extension lead or smart plug, try the dock on a standard wall socket instead to rule out a compatibility or scheduling issue (some smart plugs get switched off by an automation).
Robot vacuum stuck in its dock (docked but not charging)
If the robot is physically sitting in the dock but the charging light stays off, this is usually a contact or alignment problem rather than a power one — the robot has reached the dock but isn't making a solid electrical connection with it. Lift the robot off, re-check the contacts on both the robot and the dock for dust or debris, and re-seat it by hand rather than letting it auto-dock, pushing gently until you feel or hear it click or lock into place. On some models, a wheel resting on debris or an uneven mat can hold the unit at a slight angle that's just enough to break contact — check the floor under and immediately around the dock for anything the wheels might be catching on.
Robot vacuum won't return to or dock itself
This is a different problem from charging once docked — here, the robot never makes it back to the dock at all. Common causes include:
- The robot is physically stuck — tangled in cables, wedged under low furniture, or trapped in a room with the door closed. Check where it stopped and clear the immediate area.
- Mapping or navigation confusion, particularly after moving furniture, the dock, or after a firmware update — many app-connected robots let you trigger a fresh mapping run or manually send the robot home from the app to test whether it's a one-off confusion or a recurring fault.
- Low battery combined with a long distance from the dock — some robots pause or shut down before completing the return trip if the battery drops too low mid-cycle; manually placing it back on the dock should resume normal charging.
- Blocked sensors — dust or hair over the robot's docking sensors (often on the front or underside) can prevent it recognising the dock even when it's nearby; wipe these down along with the charging contacts.
If the robot can dock successfully when you place it there by hand but consistently fails to find its own way back, that points to a navigation or sensor issue rather than a charging fault, and it's worth checking your model's app for sensor-cleaning alerts or a factory reset option.
What a flashing light means when it won't charge
A solid or flashing status light is the robot's way of signalling a fault, but the exact colour codes and blink patterns are brand- and model-specific — there's no single universal standard across manufacturers. As a general pattern reported across several brands: a steady light usually indicates normal charging, while a flashing red or amber light commonly points to a charging fault, a stuck robot, or a battery problem, and flashing blue or white lights are more often linked to navigation or obstacle issues rather than charging itself. the exact meaning against your specific model's manual or app, since the same colour can mean different things on different robots, and some manufacturers use combinations (for example, two lights flashing together) to indicate more specific faults like a blocked brush or motor issue.
If the light pattern doesn't match anything in your manual, the manufacturer's support site or app is the most reliable place to look up the current code, since these are sometimes updated via firmware after a manual is printed.
When it's the battery, not a fixable fault
If you've cleaned the contacts, confirmed the dock has power, checked positioning, and the robot still won't hold a charge — or it charges but runs for only a few minutes before dying — the battery itself may simply be worn out. Lithium-ion batteries in robot vacuums typically lose meaningful capacity after roughly one to three years of regular use, depending on how often the robot runs and how it's stored; this is a normal part of the battery's lifespan rather than a defect.
At that point, your realistic options are:
- Check whether the battery is user-replaceable. Some models have an accessible battery compartment and a manufacturer-sold replacement battery; others have the battery sealed inside and require an authorised repair service.
- Contact the manufacturer or retailer if the unit is still under warranty. A battery that won't hold charge within the warranty period may be covered for a free repair or replacement — check your specific warranty terms, since battery wear is sometimes excluded or covered for a shorter period than the rest of the unit.
- Weigh repair cost against replacement. If a replacement battery isn't available or costs a large share of a new unit's price, it may be more practical to consider a newer model — our robot vacuum comparison hub covers current models by runtime, self-emptying capability and price if you reach that point.
Preventing charging problems going forward
- Wipe the charging contacts on both the robot and the dock every few weeks as part of your normal filter and brush-roll cleaning routine, not just when a fault appears.
- Keep the space around the dock clear of rugs, cables and clutter so the robot always has a straight, unobstructed approach.
- Avoid unplugging the dock or switching off its socket between cleaning cycles — most robots are designed to sit on the dock and top up charge between runs, and repeated full discharge cycles can accelerate battery wear.
- Keep the robot's app and firmware up to date where applicable, since manufacturers occasionally release updates that improve docking reliability.
- If you're comparing self-emptying models, which combine a charging dock with a debris-collection base, our guide to self-emptying robot vacuums explains what else can go wrong at a more complex dock and how that differs from a basic charging-only dock.
If your robot vacuum is still under warranty and none of the steps above resolve the issue, contacting the manufacturer's support team directly is usually faster than continued troubleshooting, since they can check for a known fault with your specific model.
Why has my robot vacuum suddenly stopped charging?
A sudden change usually points to something that altered recently: dirty charging contacts building up gradually, the dock or a rug near it being moved, a power cut or tripped socket, or a firmware update changing docking behaviour. Work through cleaning the contacts, checking dock placement, and confirming the dock has power before assuming it's a battery fault.
How do I clean my robot vacuum's charging contacts?
Unplug the dock, then wipe the metal contact strips on both the robot's underside and the dock with a dry, lint-free cloth. For visible tarnish or grime, lightly dampen the cloth with isopropyl alcohol and let both surfaces dry fully before reconnecting power. This is the single most common fix for a robot vacuum that won't charge.
Why is my robot vacuum stuck in the dock but not charging?
If it's physically sitting on the dock but the charging light stays off, it usually isn't making a solid electrical connection. Lift it off, clean the contacts on both the robot and dock, check for debris or an uneven mat under the wheels, and re-seat it by hand until you feel or hear it lock into place.
What does a flashing light mean if my robot vacuum won't charge?
Flashing lights are fault indicators, but the exact colours and patterns vary by brand and model, so there's no single meaning that applies to every robot vacuum. As a general pattern, a flashing red or amber light often signals a charging or battery fault, while flashing blue or white lights are more commonly linked to navigation issues. Check your model's manual or app to confirm the specific code.
Can I replace the battery in a robot vacuum myself?
It depends on the model. Some robot vacuums have an accessible battery compartment with a manufacturer-sold replacement battery; others have the battery sealed inside and need an authorised repair service. Check your model's support documentation, or contact the manufacturer, before attempting to open the unit yourself.
How long should a robot vacuum battery last before it needs replacing?
Robot vacuum batteries are lithium-ion and typically lose meaningful capacity after roughly one to three years of regular use, depending on usage frequency and storage conditions. Shortening runtime over time is normal battery wear rather than necessarily a fault, and cleaning the contacts won't reverse it.